The below walkthrough is from the Docker version of RealTimeX, but the desktop version works the exact same way.
Getting Started with Agent Builder
The Agent Builder is your workspace for creating custom flows and agents. Let's walk through the core interface and how to build your first flow.
Accessing the Builder
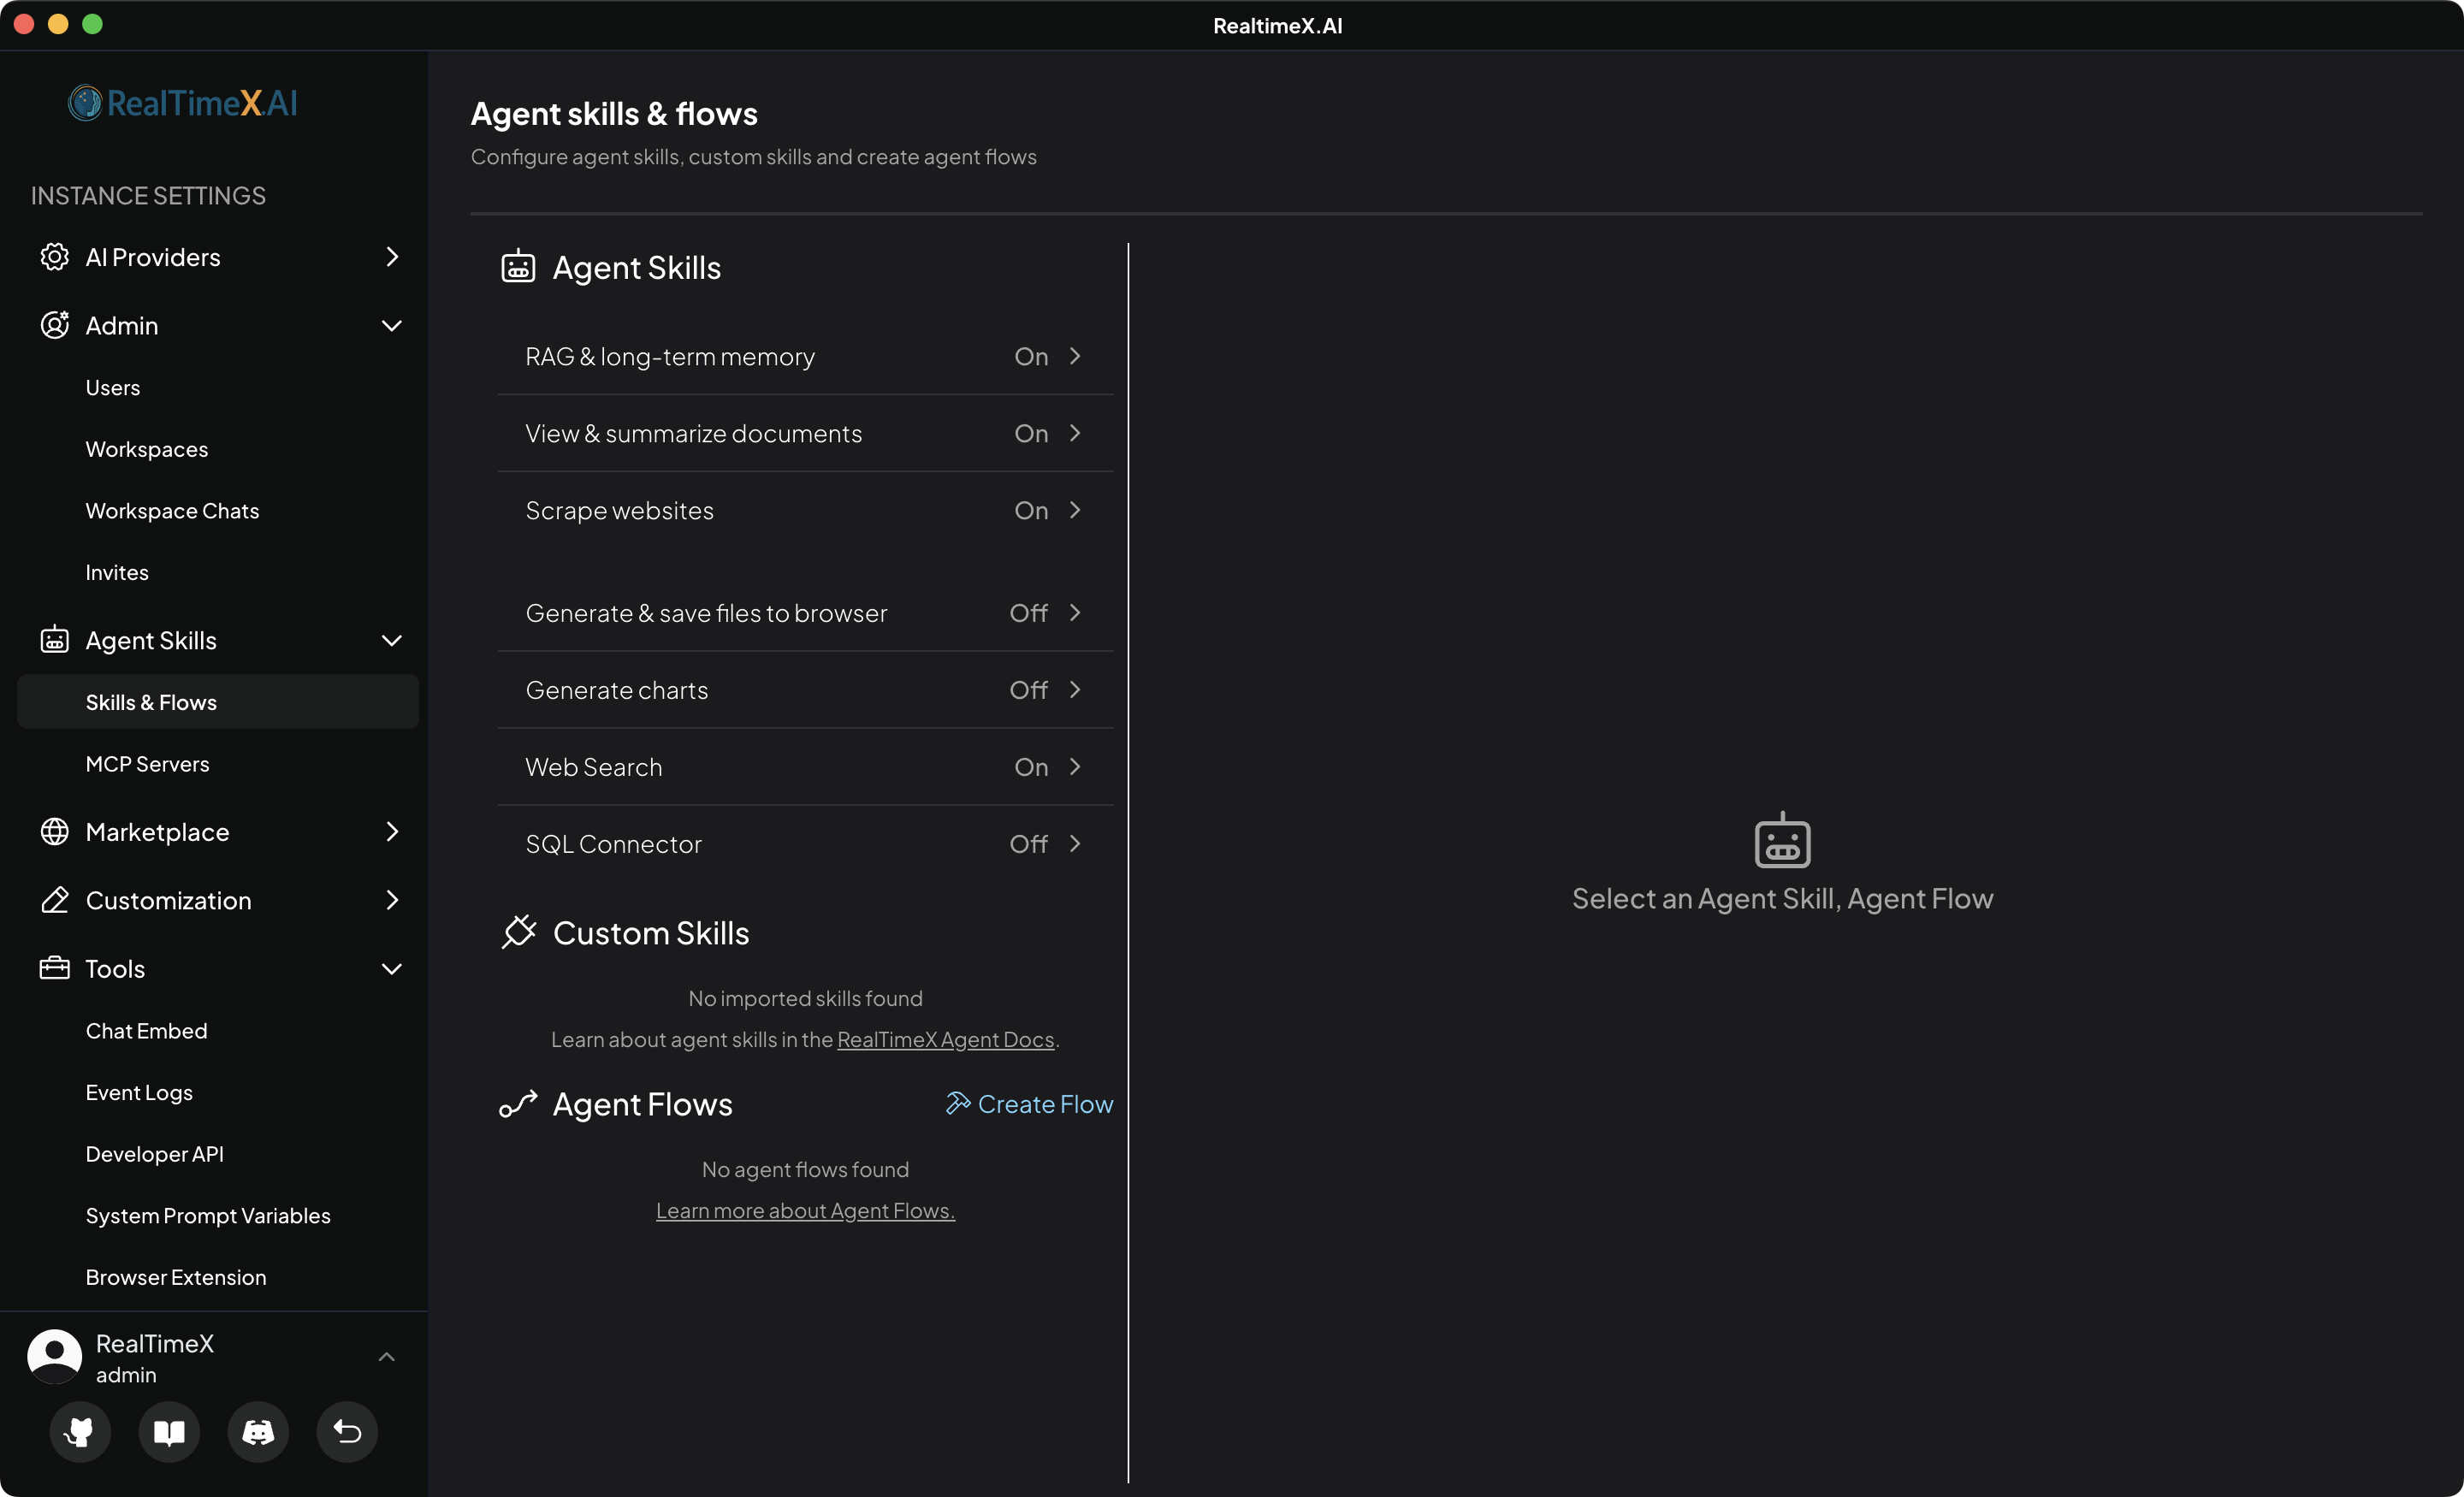
To open the Agent Builder, navigate to Settings > Agent Flows (or click the flow icon in your workspace) and click "Create Flow".
Using the AI Builder Assistant
Instead of building manually, you can use the AI Assistant in the left panel to generate your flow through chat. Simply describe your goal, and the assistant will handle the block placement and configuration for you.
Learn more in the AI Builder Assistant guide.
Understanding the Canvas
The main area is a blank canvas where you connect blocks. Every new flow starts with three essential steps:
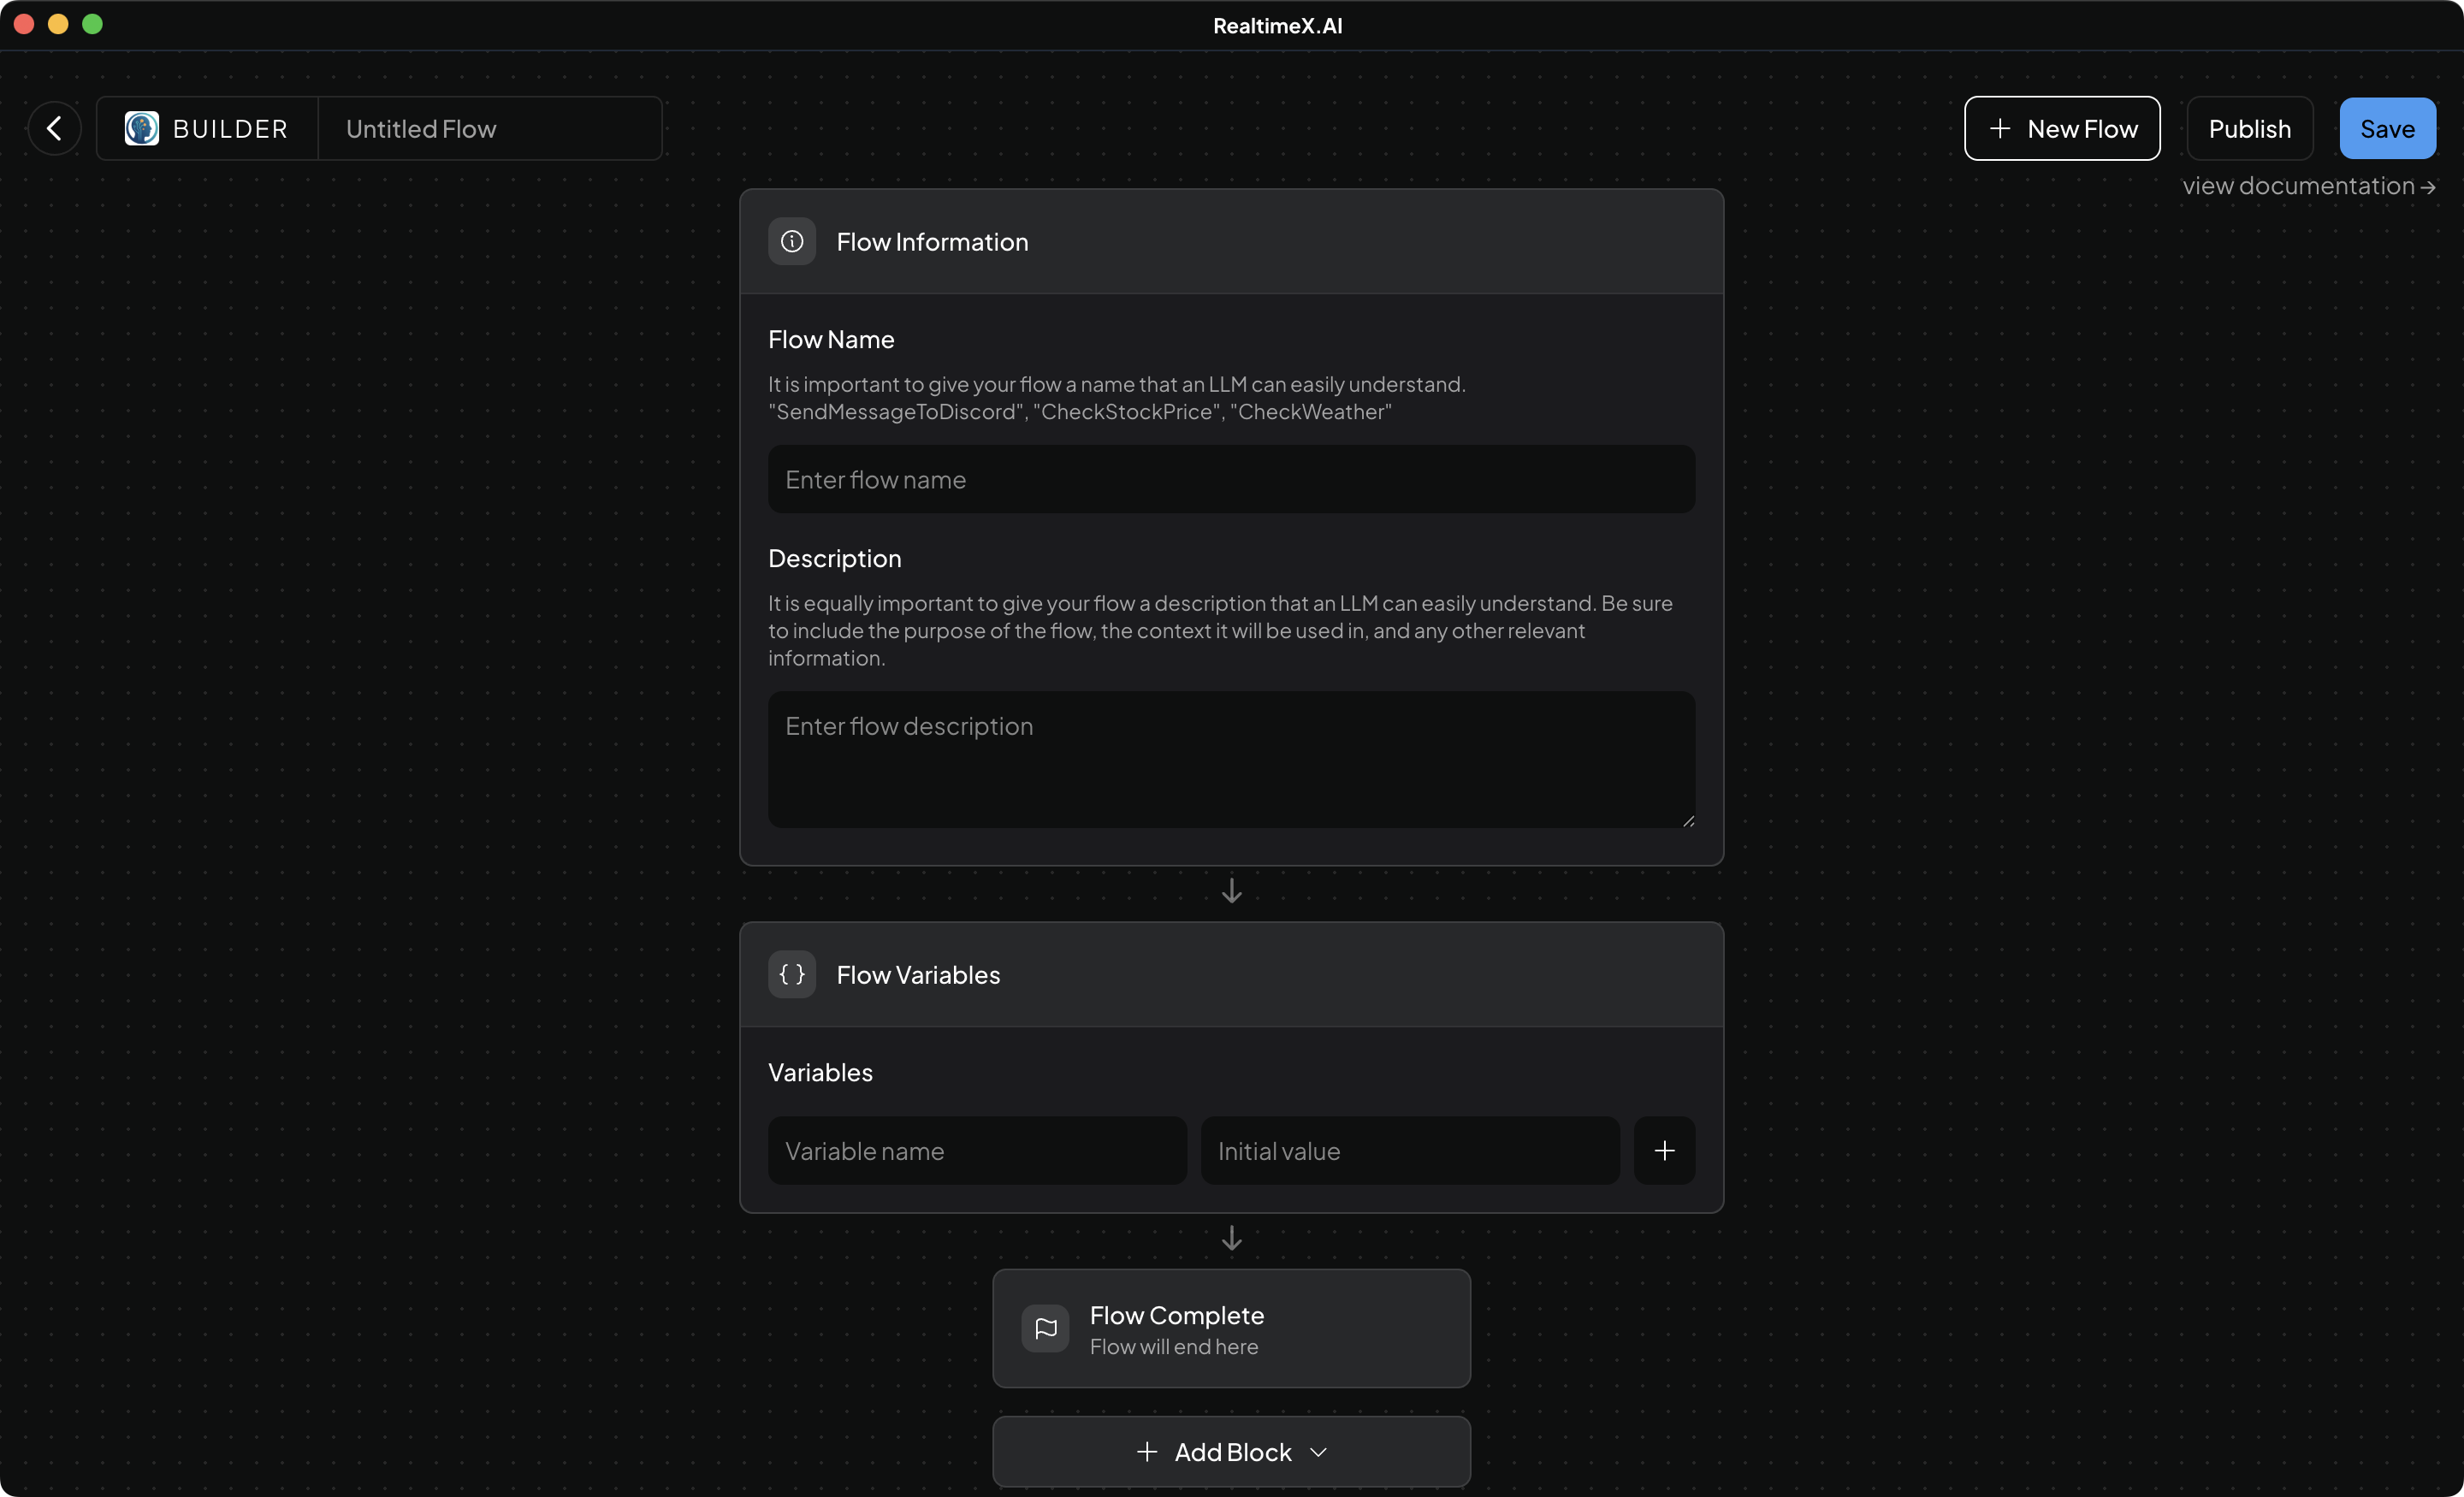
- Flow Information - Defines the flow's name and description (critical for LLM discovery).
- Flow Variables - Sets up the input/output variables for the flow.
- Flow Complete - Marks the successful termination point.
You can learn more about these in the Default Blocks documentation.
Adding New Blocks
To add functionality, click the "+" (plus) icon between any two blocks or on any block handle. This opens the Block Picker.
Check the blocks documentation to see which blocks are available in your deployment.
The Variable System
One of the most powerful features of Agent Builder is the variable system, allowing blocks to share data.
Referencing Variables
Use the double-curly brace syntax: {{ $variable_name }} in any text field.
- Predefined Variables: Defined in the
Startblock (e.g.,{{ $user_input }}). - Output Variables: Stored results from any block (e.g.,
{{ $api_result }}). - JSON Traversal: Access nested data like
{{ $api_result.data.items[0].id }}.
Next Steps
Now that you understand the interface, try our HackerNews Flow Tutorial!